

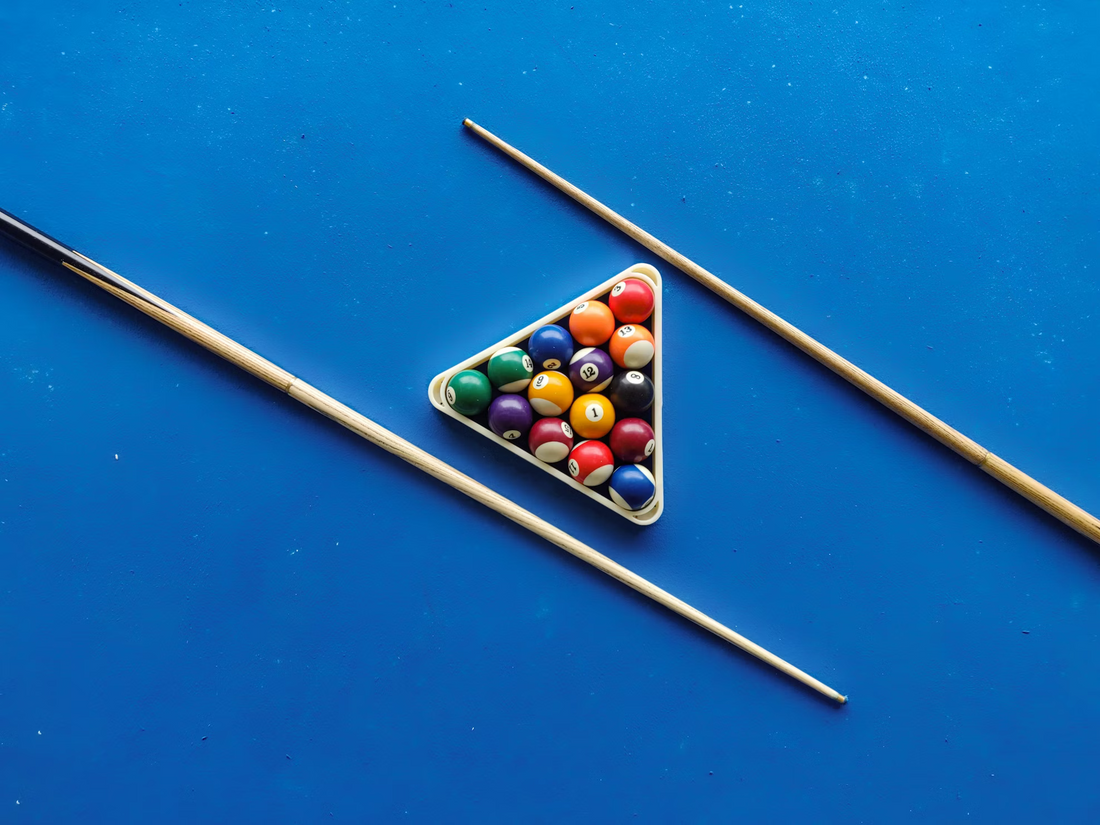
Every serious pool player knows that precision starts with a straight cue. No matter how smooth your stroke or how sharp your focus is, even a slightly bent cue can ruin your shot accuracy. A cue’s straightness determines how the force transfers from your arm to the cue ball, influencing direction, spin, and speed.
While most players focus on cue tips and chalk, straightness is the foundation of cue performance. This guide will show you how to check your pool cue’s straightness, identify misalignment, and perform small adjustments yourself — safely and effectively.
1. Why Cue Straightness Matters
The straightness of your pool cue affects every aspect of your game:
-
🎯 Accuracy: A bent cue changes the striking angle, causing unwanted side spin or curve.
-
⚖️ Consistency: With a straight cue, your stroke remains uniform and predictable.
-
💪 Energy transfer: Straight alignment ensures efficient energy flow from your stroke to the cue ball.
-
🧭 Control: You can better control cue ball position and follow-up shots.
In professional tournaments, cues are inspected for straightness before play — even a 0.3mm deviation can make a difference.
2. Common Causes of Cue Warping or Misalignment
Before you fix a crooked cue, you should understand what causes the issue.
Here are the most common reasons:
a. Humidity and Temperature
Wood cues expand or contract with changes in humidity. High moisture can cause the wood to swell unevenly, while dry air makes it shrink and twist.
Carbon fiber cues resist this problem but may experience joint misalignment from excessive heat or pressure.
b. Improper Storage
Leaning your cue against a wall or leaving it in a car trunk under the sun causes gradual warping.
✅ Always store it horizontally in a hard cue case.
c. Uneven Joint Surfaces
If the cue’s joint isn’t perfectly flat or aligned, the front and butt sections won’t meet correctly, creating a “wobble” when rolled.
d. Excessive Force or Impact
Dropping the cue or using too much torque while screwing it together can slightly bend the joint or ferrule.
3. How to Test Cue Straightness at Home
You don’t need expensive tools to test straightness — here are several proven methods.
Method 1: The Roll Test
-
Assemble your cue completely.
-
Place it on a flat, smooth surface (preferably a slate table).
-
Roll it slowly and observe:
-
If the tip or butt lifts during the roll, it’s bent.
-
If only one section moves, the issue is likely in that part.
-
💡 Tip: Try rolling it in multiple directions to confirm that it’s the cue, not the surface, that’s uneven.
Method 2: The Sight Test
Hold the cue at eye level and look down its length, rotating it slowly.
If the shaft appears to “wave” or bend, you’ve found the high side. This is the oldest and most reliable quick test used by cue makers.
Method 3: Laser or Dial Gauge (Advanced)
In cue workshops, technicians use a laser or precision dial gauge mounted on a lathe to measure deviations within 0.1mm.
While you don’t need such tools at home, understanding their principle helps — they measure the exact centerline of rotation.
4. How to Identify Where the Problem Is
A crooked cue doesn’t always mean the whole cue is bent — it might just be one section.
| Area | Typical Issue | Symptoms |
|---|---|---|
| Shaft | Warped wood, moisture | Tip lifts when rolling |
| Joint | Uneven connection, misalignment | Gap or movement when screwed together |
| Butt | Bent due to impact | Butt wobbles during roll |
| Ferrule | Off-center tip | Ball hits unpredictably |
Once you locate the area, you can apply the right repair technique.
5. How to Adjust or Fix Minor Misalignment
If the cue’s warp is very small (under 1–2mm deviation), you can try a few safe DIY fixes.
Step 1: Realign the Joint
-
Unscrew the cue.
-
Clean both the male and female joint threads with a soft cloth.
-
Screw it back together gently — stop tightening before it locks fully.
-
Wiggle slightly and retighten; this allows the threads to “seat” naturally in their correct alignment.
This simple step often corrects small connection misalignments.
Step 2: Flatten Uneven Joint Faces
If one side of the joint face is higher:
-
Mark the raised area.
-
Use fine sandpaper (1000–1500 grit) to gently smooth it.
-
Check after each light sanding by screwing the cue together again.
Don’t overdo it — you’re aiming for flatness, not material removal.
Step 3: Reverse Pressure Correction (for wood cues only)
-
Identify the cue’s highest bend point.
-
Apply very gentle pressure in the opposite direction.
-
Hold for 10–15 seconds, then release.
-
Repeat a few times — small, gradual adjustments are safer than force.
⚠️ Caution: Overbending or heating can damage finish and structure. Avoid using heat guns or steam unless professionally trained.
Step 4: For Persistent Warping
If your cue still wobbles, the issue may lie deeper in the shaft’s grain or joint alignment — in this case, seek a professional repair service.
A cue technician can mount it on a lathe, measure deviation, and correct it precisely without weakening the cue.
6. How to Prevent Future Warping
Prevention is the best repair. Follow these storage and care habits:
-
Store the cue horizontally in a cue case.
-
Avoid temperature extremes and direct sunlight.
-
Keep it away from damp areas (never near air conditioners or heaters).
-
Don’t lean it against a wall for long periods.
-
Clean the shaft regularly with a dry, lint-free cloth.
-
Assemble and disassemble with gentle, straight motion — never twist forcefully.
Carbon fiber cues require less maintenance but still benefit from clean, dry storage.
7. When to Seek Professional Help
If you notice:
-
Visible joint gaps
-
Consistent ball deflection despite clean stroke
-
Over 2mm lift when rolling
…it’s time for professional servicing.
Technicians use cue lathes, laser alignment tools, and dial indicators to restore your cue’s straightness to factory condition.
8. Why Straightness Means Confidence
A perfectly straight cue gives you more than just physical accuracy — it gives you mental confidence.
When you know your equipment is aligned, your focus stays on your aim, not your doubts.
Every shot feels cleaner, every follow-through smoother. In short, straightness equals control, precision, and peace of mind.
Conclusion
Your pool cue’s straightness is a small detail that makes a big difference. By understanding how to test, adjust, and maintain alignment, you ensure long-term performance and consistency.
Whether you play casually or competitively, take a few minutes every month to check your cue — a simple roll test today can save you costly repairs tomorrow.
Because in billiards, a straight cue leads to a straight shot. 🎯